Basic Setup of YubiHSM 2 and SQL Server
Installing and Configuring YubiHSM 2
Install and configure the YubiHSM 2 device and software using the instructions in the following sections in the YubiHSM 2 Windows Deployment Guide—Configure YubiHSM 2 Key Storage Provider for Microsoft Windows Server:
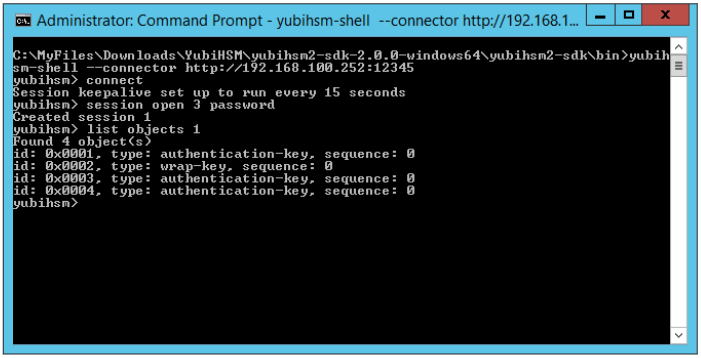
When these instructions have been completed, the YubiHSM 2 should be configured with — for example — one domain with a wrap key (id 0x0002), an application authentication key (id 0x0003), and an audit key (id 0x0004). The configuration of the YubiHSM 2 can be inspected by using the YubiHSM-Shell in a command prompt as shown in the screenshot below.
Figure 1 - Example of the YubiHSM 2 basic configuration
Creating a Test Database
Create a test database that will be used for the Always Encrypted deployment with YubiHSM 2. If you already have a Microsoft SQL Server database installed, you can skip ahead to Configure SSMS for Database Encryption.
|
Note
|
At least one row with values needs to be inserted into the database table before the columns are encrypted (see Figure 4 below). |
Step 1 To create a test database, launch Microsoft SQL Server Management Studio (SSMS) 2018, right-click on the Databases icon, select New Database…, and enter an appropriate name for the database. In this guide, a test database named “Sales3” will be used for the tests with Always Encrypted in conjunction with YubiHSM 2.
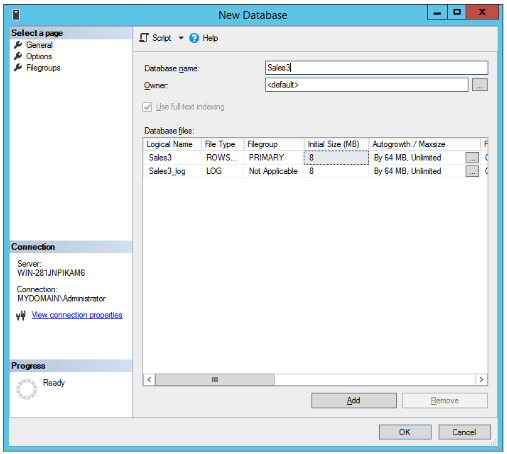
Figure 2 - Example of test database
Step 2 Expland Databases > Sales3 > Tables, right-click on Tables and select Create new table… Add some columns, for example "Name”, “Address”, “ZipCode”, “City”, “Country”. Save the table and give it the name “Table_Customers” for example.
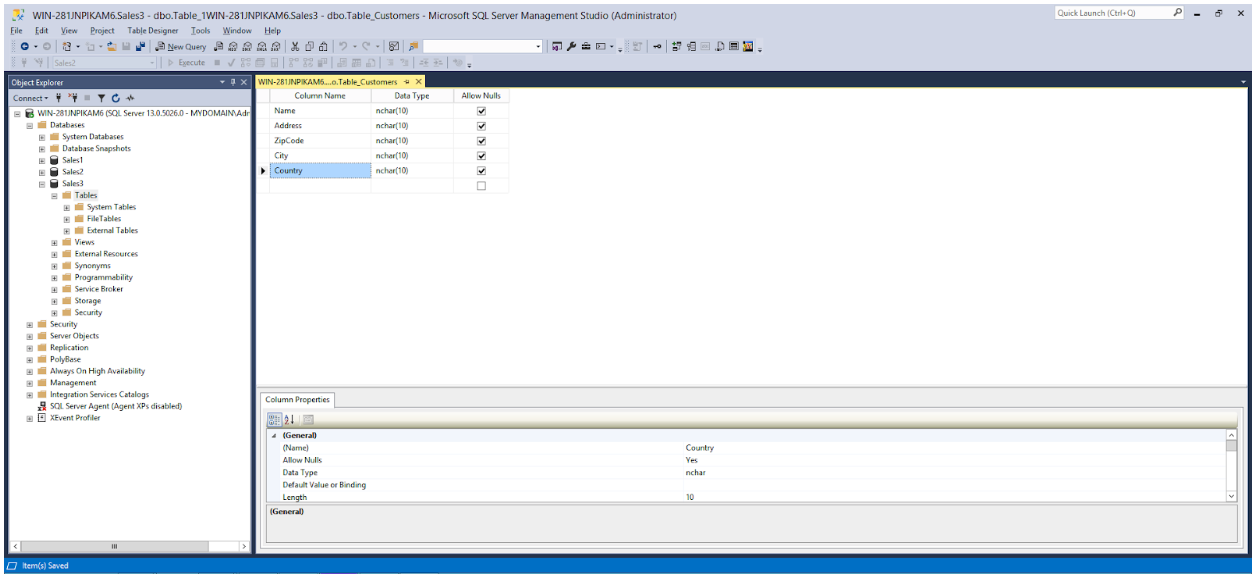
Figure 3 - Example of test table
Step 3 Add one or more rows to the table by expanding Databases > Sales3, right-clicking on Table and selecting New > Query… Use the SQL Query window to insert rows into the database table, for example, with the SQL query shown below.
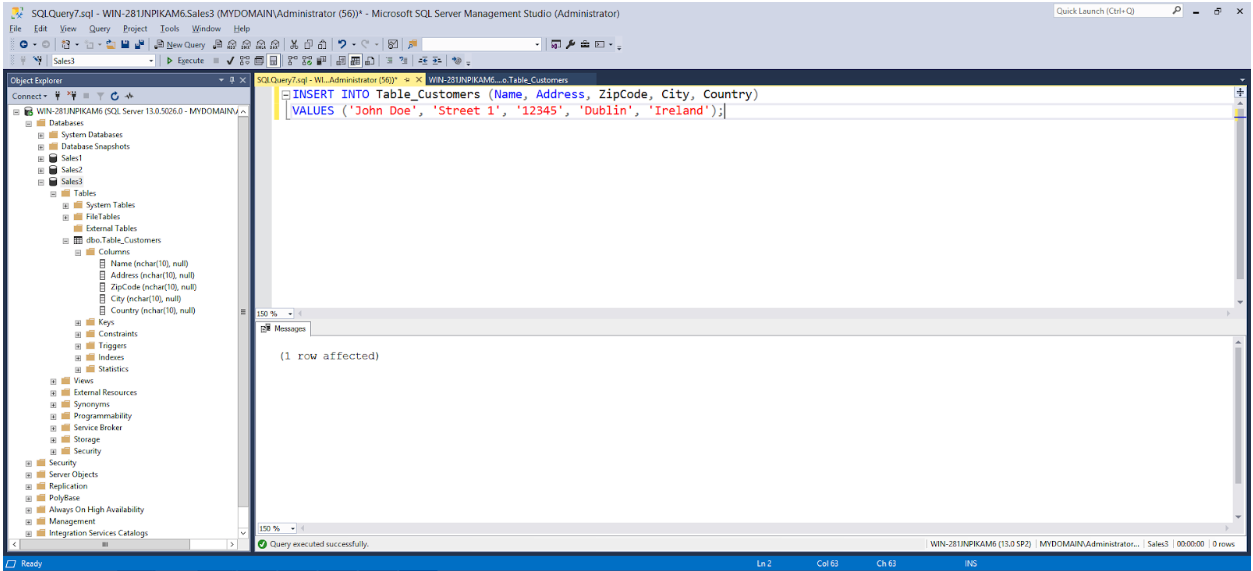
Figure 4 - Example of SQL query to insert values into the table