Encrypt Database Columns
Database columns can be encrypted with PowerShell- or SSMS-generated keys.
Encrypt Database Column with PowerShell-generated Keys
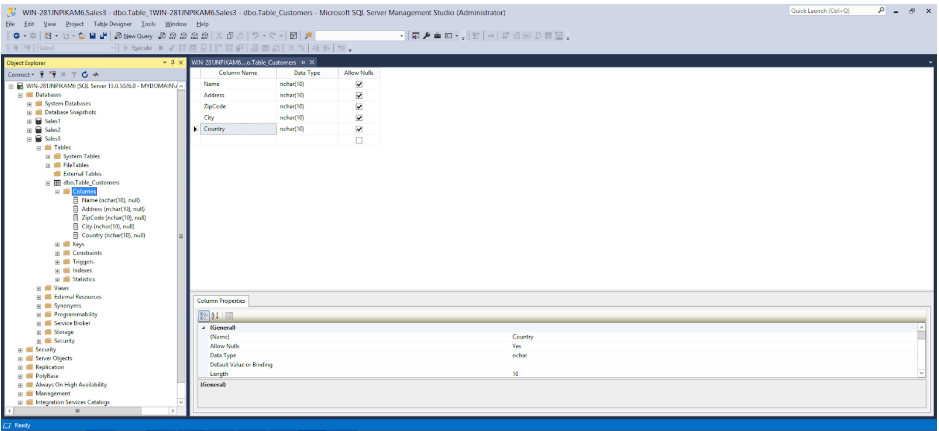
Step 1 To encrypt a database column, expand the database’s columns: Databases > Database-Name > Tables > Table-Name > Columns. Our example expands the tree Databases > Sales3 > Tables > dbo.Table_Customers > Columns, as shown in the screenshot below.
Figure 15 - Expanded columns to be encrypted
Step 2 Right-click the column to be encrypted and select Encrypt Column… In our example, right-click the table Name and select Encrypt Column… The Introduction window in the SSMS Always Encrypted wizard appears:
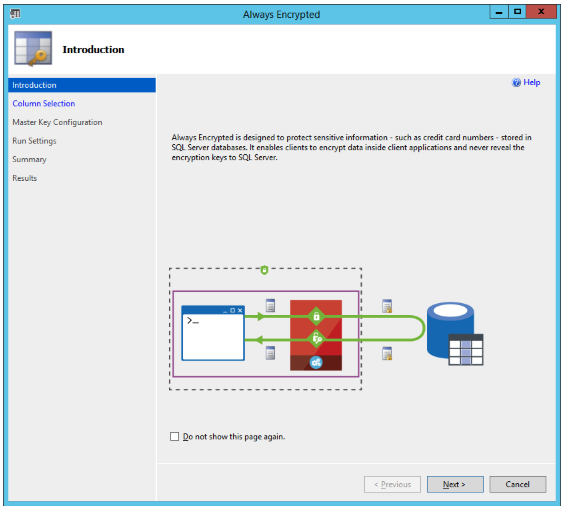
Figure - 16 Always Encrypted wizard: Introduction
Step 3 Click Next. The Column Selection window of the Always Encrypted wizard appears:

Figure 17 - Always Encrypted wizard: Column Selection
Step 4 In this example, the CEK that was generated with the PowerShell script is used for encrypting the database column. In the Column Selection window, select the Encryption Key named CEK-YubiHSM-PS. The Encryption Type can be set to either Deterministic or Randomized; in this example Deterministic is selected. Click Next, and the Master Key Configuration window in the Always Encrypted wizard appears.
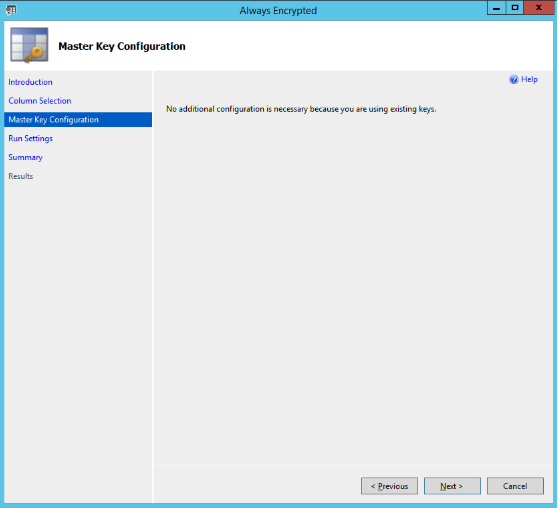
Figure 18 - Always Encrypted wizard: Master Key Configuration
Step 5 In the Master Key Configuration window, click Next button, since the master column key in the YubiHSM 2 will be used. The Run Settings window in the Always Encrypted wizard appears.
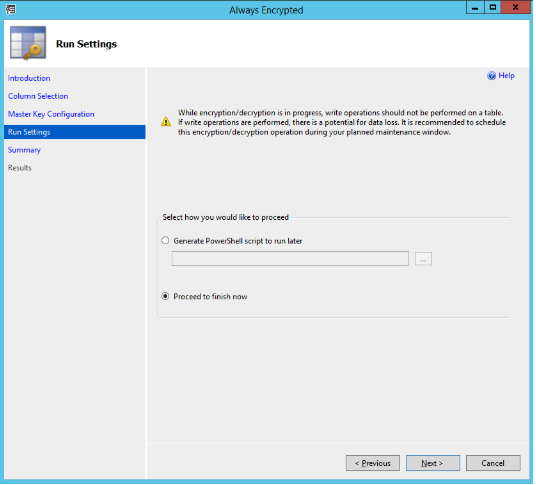
Figure 19 - Always Encrypted wizard: Run Settings
Step 6 In the Run Settings window, select Proceed to finish now (unless you want to generate a PowerShell script to run later) and click Next. The Summary window in the Always Encrypted wizard appears.
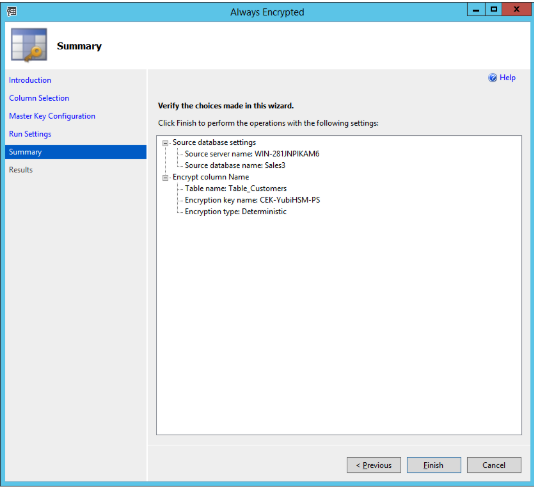
Figure 20 - Always encrypted wizard: Summary
Step 7 Review the settings in the Summary window and click Finish. The Results window appears:
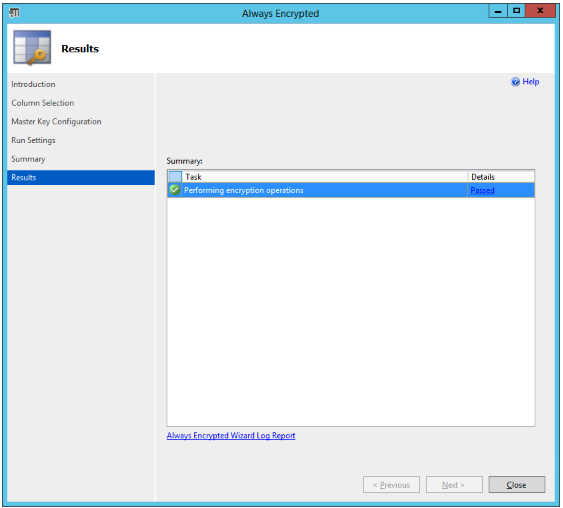
Figure 21 - Always encrypted wizard: Results
When the column encryption operation succeeds, the word “Passed” is displayed in the Details column of the relevant row in the Results window.
Encrypt Database Column with SSMS-generated Keys
to use the CMK and CEK that were generated in Use SSMS to Generate the CMK and CEK, follow the instructions above for encrypting a database column with PowerShell-generated keys (Encrypt Database Column with PowerShell-generated Keys), but select a different column (for example, Address) and use the column encryption key CEK-YubiHSM-SSMS and the related column master key CMK-YubiHSM-SSMS.
Verify Encrypted Database Column
To check that the columns have been encrypted, expand the object Database > Database-Name (in our example the database name is Sales3). Then select New Query in the top menu. Type the SQL query in the example below and click Execute.
SELECT * FROM Table_Customers;
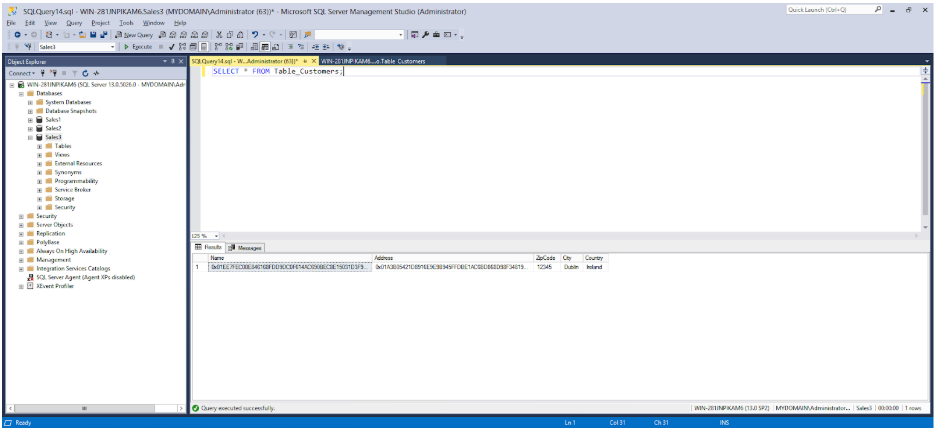
Figure 22 – Checking the encrypted columns