Use SSMS to Generate the CMK and CEK
The Microsoft SQL Server Management Studio (SSMS) provides tools for manual creation of the CMK and CEK. These can also be generated using a PowerShell script (see Use PowerShell Script to Generate the CMK and CEK. Note that all the examples and screenshots in this document are based on different key names being used for the SSMS wizard and the PowerShell script.
Generate the CMK
Step 1 To generate the CMK for a database, launch SSMS and expand Databases > Database-Name > Security > Column Master Key. We use the example shown below, expanding the tree Databases > Sales3 > Security > Column Master Key.
Figure 5 – Column Master Keys in SSMS
Step 2 Right-click on Column Master Keys, and select New Column Master Key… In the New Column Master Key window, enter the following values:
-
In the Name text field, enter an appropriate name for the CMK, for example, “CMK-YubiHSM-SSMS”.
-
In the Key Store drop-down list, select Key Storage Provider (CNG).
-
In the Select a provider drop-down list, select YubiHSM Key Storage Provider.
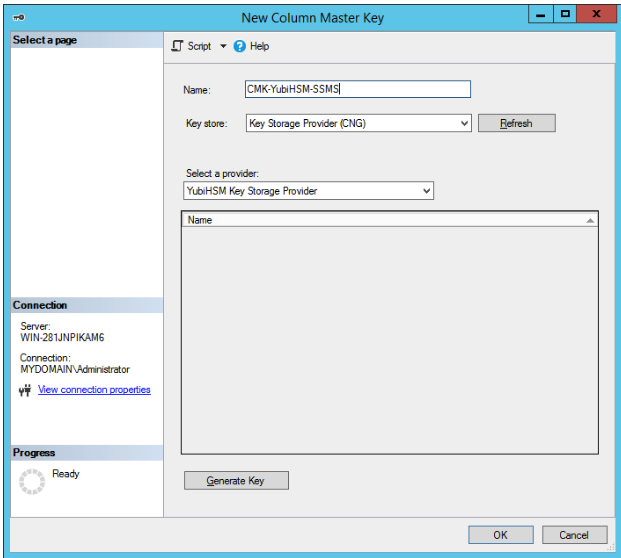
Figure 6 - Create new column master key with SSMS
Step 3 To generate an asymmetric key-pair on the YubiHsm 2, click Generate Key.
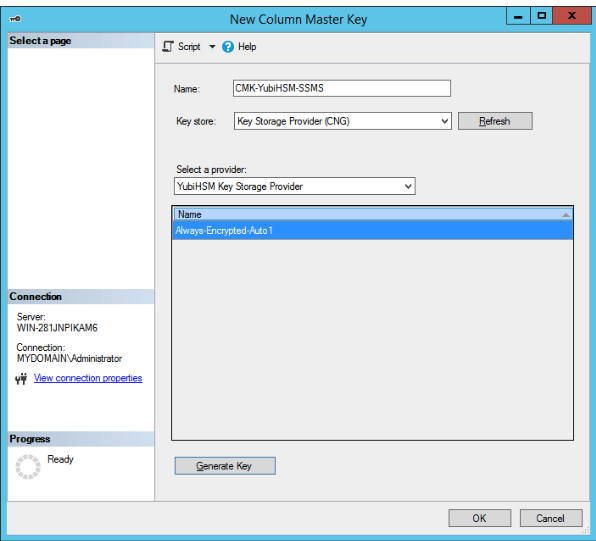
Figure 7 - New Column Master Key generated in SSMS
Validate Generation of the CMK
The presence of the asymmetric CMK in the YubiHSM 2 can also be validated by running the following sequence of YubiHSM-Shell commands in a command prompt:
yubihsm> connect

yubihsm> session open <slot-ID> <password>

yubihsm> list objects <session-ID>

yubihsm> get objectinfo <session-ID> <key-ID> asymmetric-key
Example output from the YubiHSM-Shell commands is shown in the screenshot below.
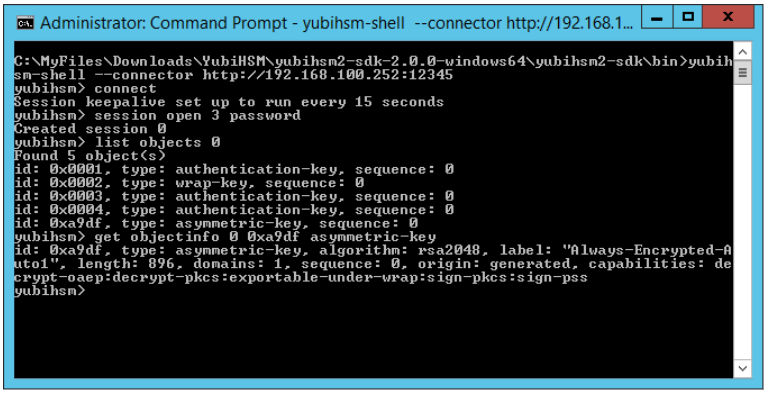
Figure 8 - New Column Master Key listed in YubiHSM
Generate the CEK
The next step is to generate the CEK for a database.
Step 1 To generate the CEK, launch SSMS and expand Databases > Database-Name > Security > Column Encryption Key. In our example, expand the tree Databases > Sales3 > Security > Column Encryption Key, which is illustrated in the screenshot below.
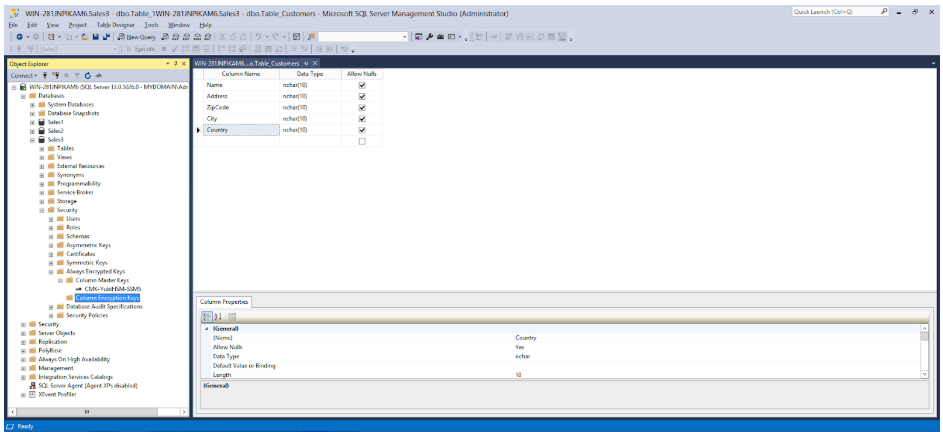
Figure 9 - Column Encryption Keys in SSMS
Step 2 Right-click Column Encryption Keys, and select New Column Encryption Key….
Step 3 In the New Encryption Master Key window, enter the following values:
-
In the Name text field, enter an appropriate name for the CEK, for example “CEK-YubiHSM-SSMS”.
-
In the Column master key drop-down list, select the CMK that was generated on the YubiHSM, for example “CMK-YubiHSM-SSMS”.
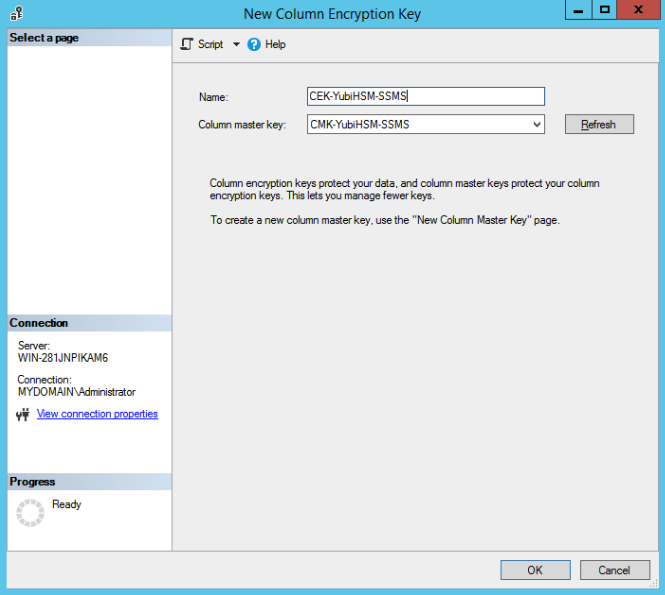
Figure 10 - Create new Column Encryption Key with SSMS
Step 4 To generate the CEK, press OK. To verify the success of the operation, check to see whether the CEK is listed under Always Encrypted Keys in SSMS.
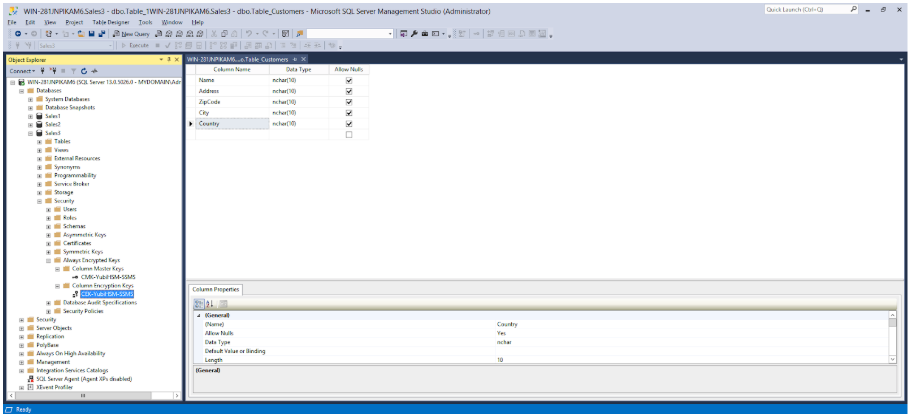
Figure 11 - Column Master Key and Column Encryption Key in SSMS